Top Ad 728x90

Wednesday, April 8, 2026

Nana baked a batch of these

by


These Low Carb 3-Ingredient Sausage Bites are my shortcut version of what my Nana used to bake every Sunday morning. She always had a plate of warm, cheesy sausage balls on the table before anyone was fully awake, and they disappeared just as fast as the coffee brewed. This version keeps that same melt-in-your-mouth, comfort-food vibe but trims the ingredients down to the bare essentials and stays low carb. They’re perfect for busy weekends, meal prep breakfasts, or whenever you want something cozy and satisfying without a lot of fuss.
Serve these sausage bites hot from the oven on a simple white plate so their golden, crispy edges really show off. They’re great on their own with a side of scrambled eggs, a quick veggie omelet, or a small green salad for a brunch-y feel. For dipping, set out a little dish of sugar-free ketchup, spicy mustard, or a creamy ranch-style dip. They also work well as a high-protein snack in lunchboxes or as a party appetizer alongside a platter of fresh veggies and cheese.
Low Carb 3-Ingredient Sausage Bites
Servings: 18–22 bites

Ingredients
1 pound (450 g) bulk breakfast sausage, uncooked (mild or hot)
1 1/2 cups (170 g) finely shredded sharp cheddar cheese, packed
1 large egg
Directions
Preheat your oven to 375°F (190°C). Line a large baking sheet with parchment paper for easy cleanup and to help the sausage bites crisp evenly.
In a large mixing bowl, add the uncooked breakfast sausage, shredded cheddar cheese, and egg.
Use clean hands or a sturdy spoon to mix everything together until the cheese and egg are evenly worked into the sausage. The mixture will be thick and slightly sticky, but it should hold together easily when pressed.
Scoop out small portions of the mixture, about 1 to 1 1/2 tablespoons each, and roll them into balls between your palms. Aim for bite-size, round shapes so they bake evenly and match that classic breakfast-ball look.
Place the sausage balls on the prepared baking sheet, spacing them about 1 inch apart. They will release some fat as they bake, so give them a little room.
Bake on the middle rack for 16–20 minutes, or until the sausage bites are cooked through, the centers are no longer pink, and the outsides are a deep golden brown with slightly crisp edges.
If you like them extra golden, switch the oven to broil for 1–2 minutes at the end of baking, watching closely so they don’t burn. This helps create that crisp, browned exterior while keeping the centers juicy and tender.
Remove the tray from the oven and let the sausage bites rest on the baking sheet for about 5 minutes. This helps them firm up slightly and makes them easier to transfer.
Use a spatula to move the sausage bites to a serving plate. Serve warm, or let them cool completely before storing in an airtight container in the fridge for up to 4 days. Reheat in the oven or air fryer to bring back the crisp exterior.

Variations & Tips
To channel that Nana-style “secret recipe” feel, you can tweak these in a few simple ways without adding carbs. For extra flavor, mix in 1/2 teaspoon garlic powder or onion powder, or a generous pinch of black pepper and smoked paprika before rolling into balls. Swap cheddar for pepper jack or a blend of cheddar and mozzarella for a slightly gooier center. If you prefer a leaner option, use turkey breakfast sausage and add an extra 1/4 cup cheese to help them stay tender. For make-ahead mornings, roll the sausage balls, freeze them raw on a sheet pan, then transfer to a freezer bag; bake from frozen at 375°F (190°C), adding a few extra minutes. You can also make them mini (1 tablespoon each) for party appetizers or slightly larger for a grab-and-go breakfast. If your sausage is very lean and the mixture feels dry, add 1 additional egg white to keep the texture soft and melt-in-your-mouth.

My sister-in-law made this for

by


This oven baked 4-ingredient Amish beef and bell pepper bake is the kind of dish that quietly shows up at a church potluck or Easter dinner and ends up stealing the whole show. It’s simple as can be—just ground beef, bell peppers, a jar of sauce, and cheese—but it tastes like something your grandmother fussed over all afternoon.

The idea comes from the plain, practical cooking I grew up around in the rural Midwest: hearty food that fills the house with good smells, uses what you have on hand, and doesn’t make a big production out of it. My sister-in-law first brought this to Easter dinner, and we all kept “just evening up the edges” in the glass baking dish until there was hardly a spoonful left.

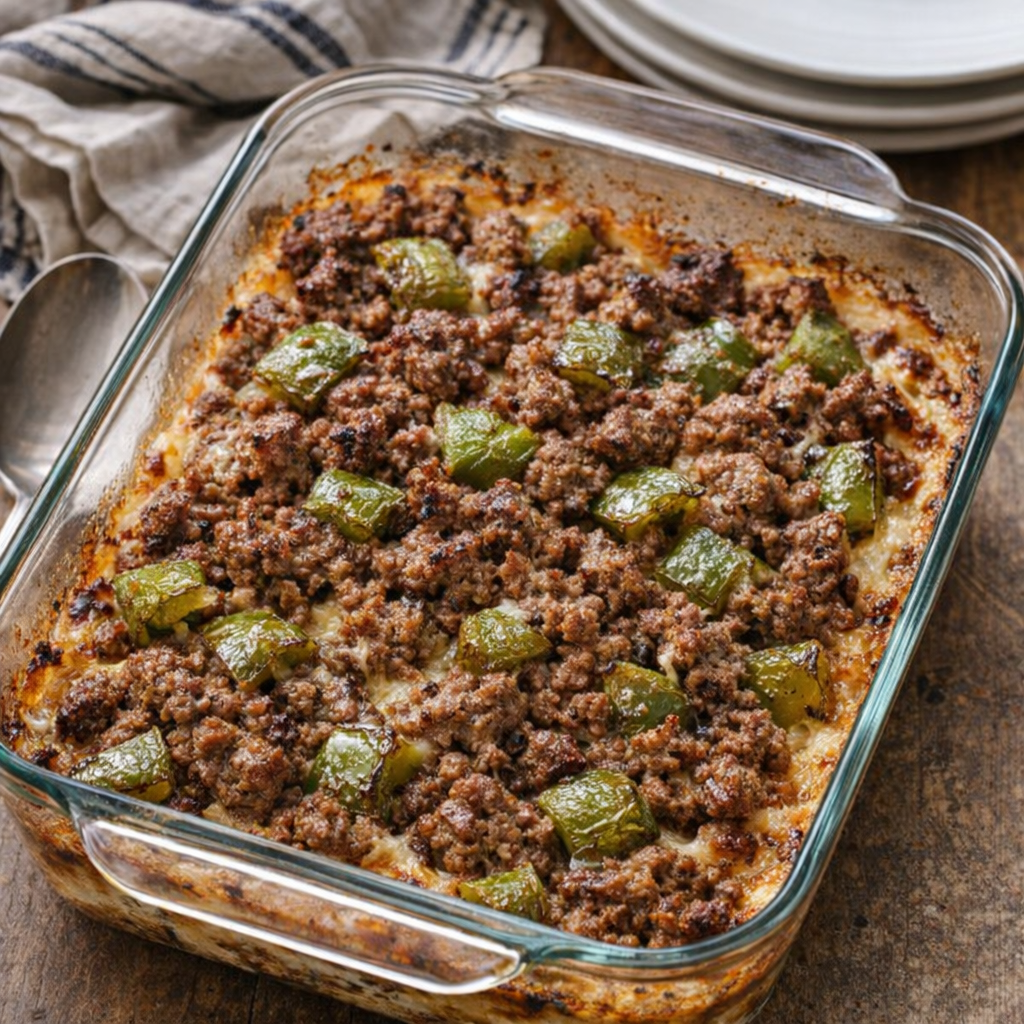
Homestyle beef and pepper bake in a glass dish on a farmhouse table

It’s comforting, budget-friendly, and easy enough for a busy weeknight, but special enough for a holiday table.

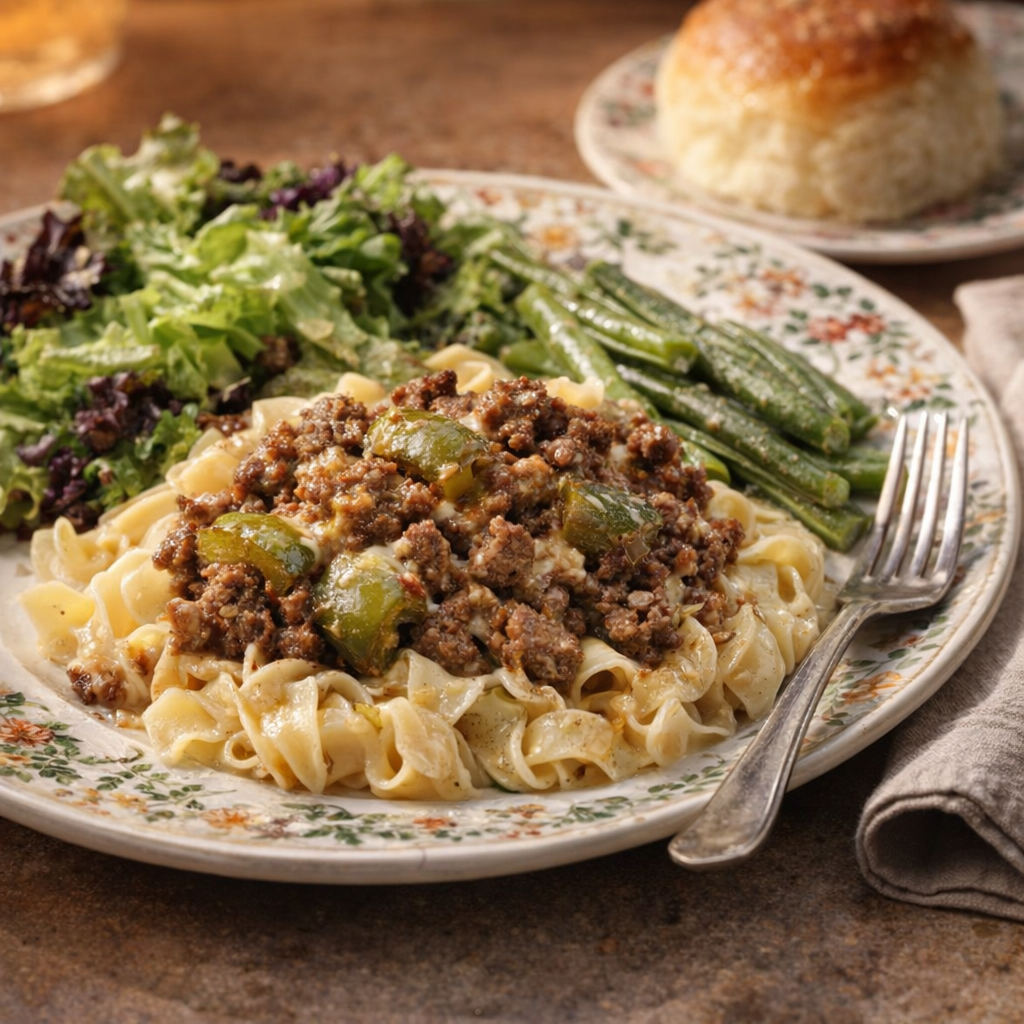
Serve this beef and bell pepper bake hot, scooped straight from the glass dish with a big spoon. It’s wonderful over buttered egg noodles, mashed potatoes, or plain white rice to soak up the saucy juices.

On my table, I like to set out a simple lettuce salad with a tangy dressing and maybe some buttered peas or green beans for color. Warm dinner rolls or slices of soft white bread fit right in with the old-fashioned feel and are perfect for swiping up the melted cheese and browned bits along the edges of the pan. A jar of pickled beets or dill pickles on the side adds that classic Midwestern touch.

Served casserole plate with noodles and simple supper sides

Oven-Baked 4-Ingredient Amish Beef and Bell Pepper Bake

Servings: 6

Ingredients
1 1/2 pounds ground beef (80–85% lean)
3 large green bell peppers, seeded and cut into bite-size strips or chunks
1 (24-ounce) jar thick tomato pasta sauce or marinara
2 cups shredded mild cheese (such as Colby Jack or mild cheddar), loosely packed
Directions
Preheat your oven to 375°F (190°C). Set out a 9x13-inch glass baking dish so it’s ready to fill.
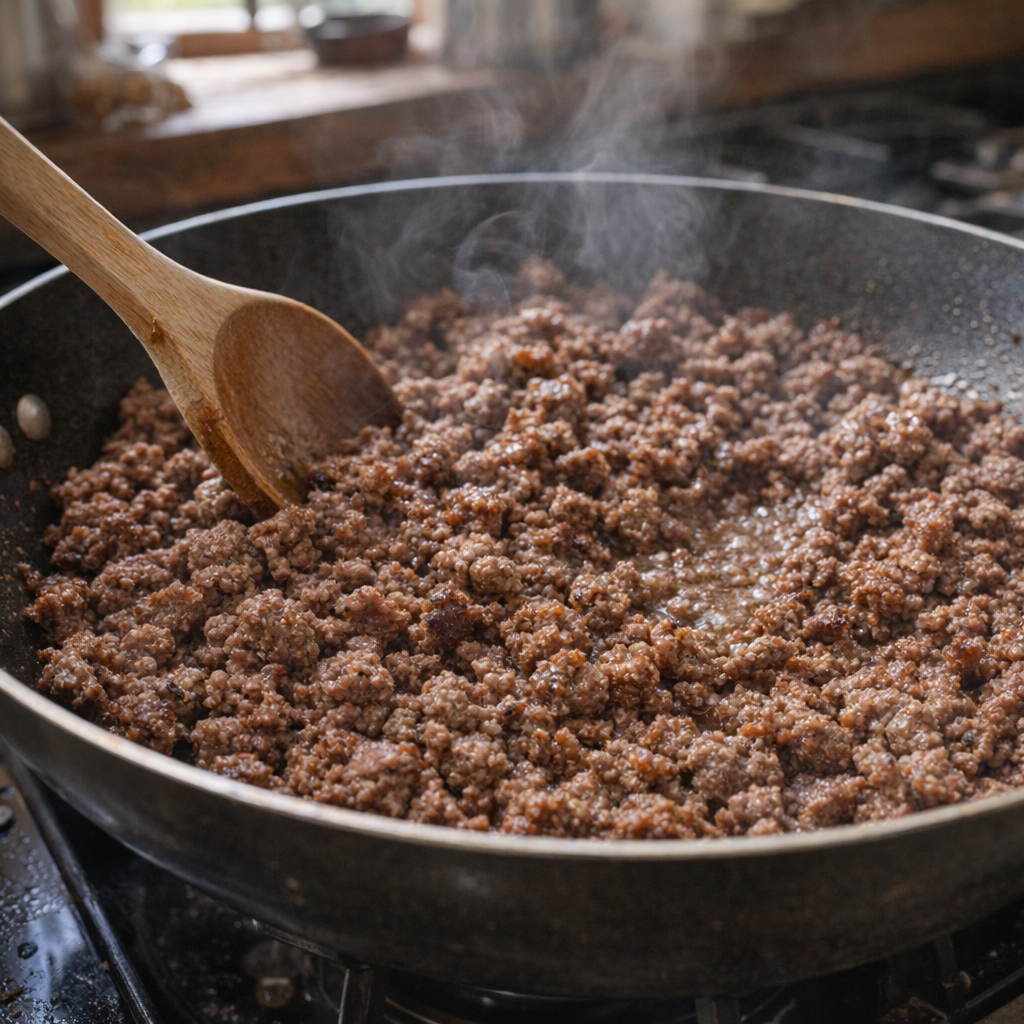
In a large skillet over medium-high heat, crumble in the ground beef. Cook, stirring and breaking it up with a wooden spoon, until the meat is browned through and no pink remains, about 7–10 minutes. If there is a lot of grease in the pan, carefully spoon off most of it and discard.
Ground beef browning in a skillet with a wooden spoon
Pour the jar of tomato pasta sauce into the skillet with the browned beef. Stir well to coat the meat and bring everything to a gentle simmer for 2–3 minutes so the flavors start to come together. Turn off the heat.
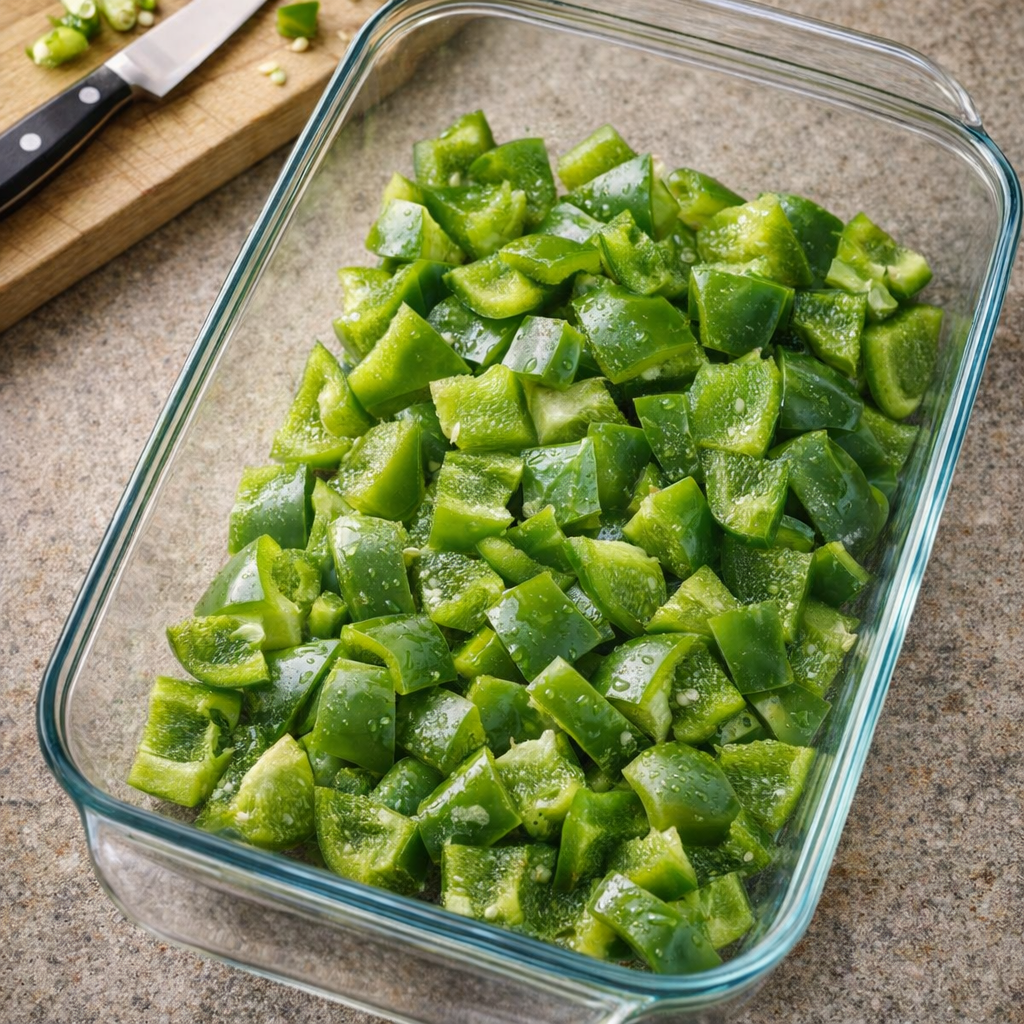
Scatter the sliced green bell peppers evenly over the bottom of the ungreased 9x13-inch glass baking dish. The peppers will soften and sweeten as they bake, so don’t worry if they seem like a lot at first.
Sliced green bell peppers layered in a glass baking dish
Pour the hot beef and sauce mixture over the bed of bell peppers in the dish, spreading it out with the back of a spoon so it covers the peppers in an even layer.
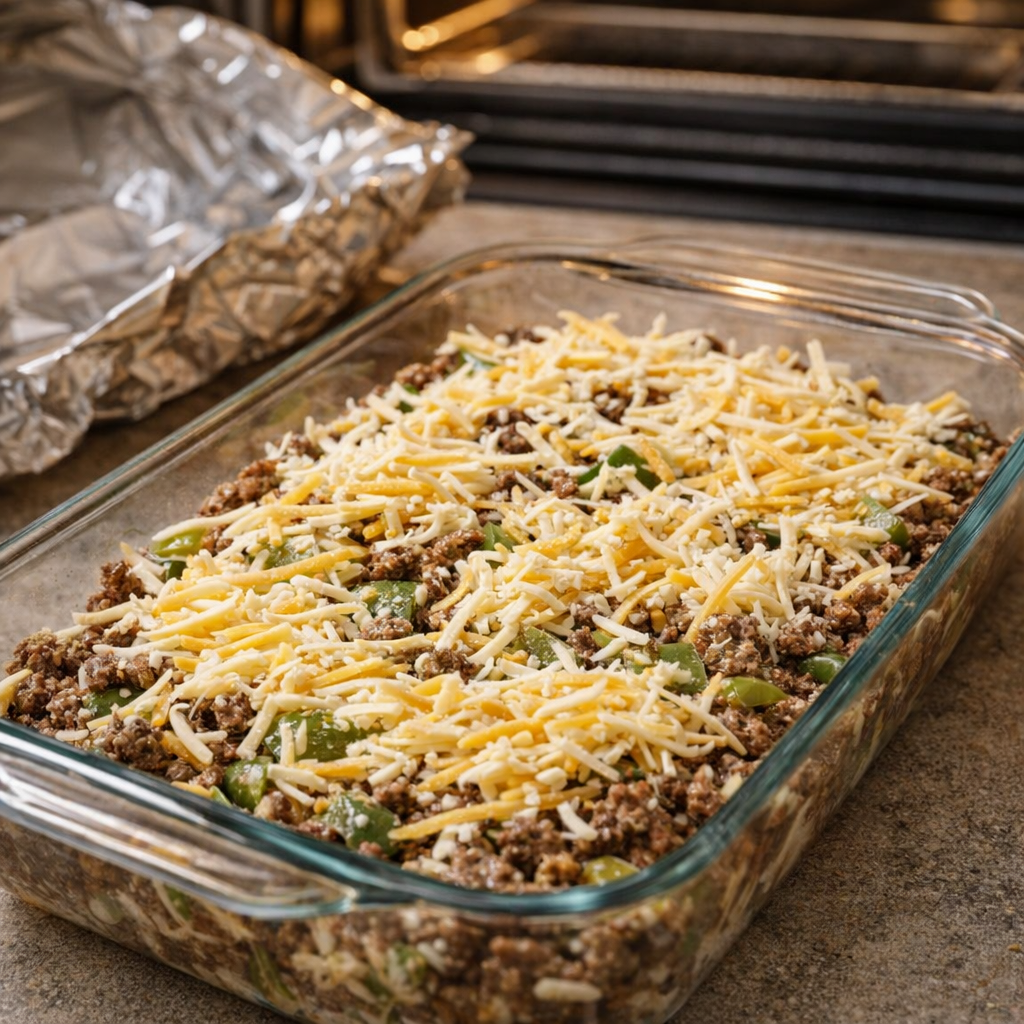
Sprinkle the shredded cheese evenly over the top of the beef mixture, making sure to go all the way to the edges so you get those nice browned, melty cheese edges.
Cover the baking dish tightly with foil and place it on the center rack of the preheated oven. Bake for 25 minutes, until the peppers have started to soften and everything is bubbling around the edges.
Cheese-topped casserole ready to go into the oven
Carefully remove the foil (watch for steam), then return the uncovered dish to the oven. Bake another 10–15 minutes, or until the cheese is fully melted, lightly browned in spots, and the peppers are tender when pierced with a fork.
Let the casserole rest on a heatproof surface for about 5–10 minutes before serving. This helps the juices settle a bit so you get nice, hearty scoops of beef, peppers, and gooey cheese, just like in that glass baking dish that stole the show at Easter.
Variations & Tips

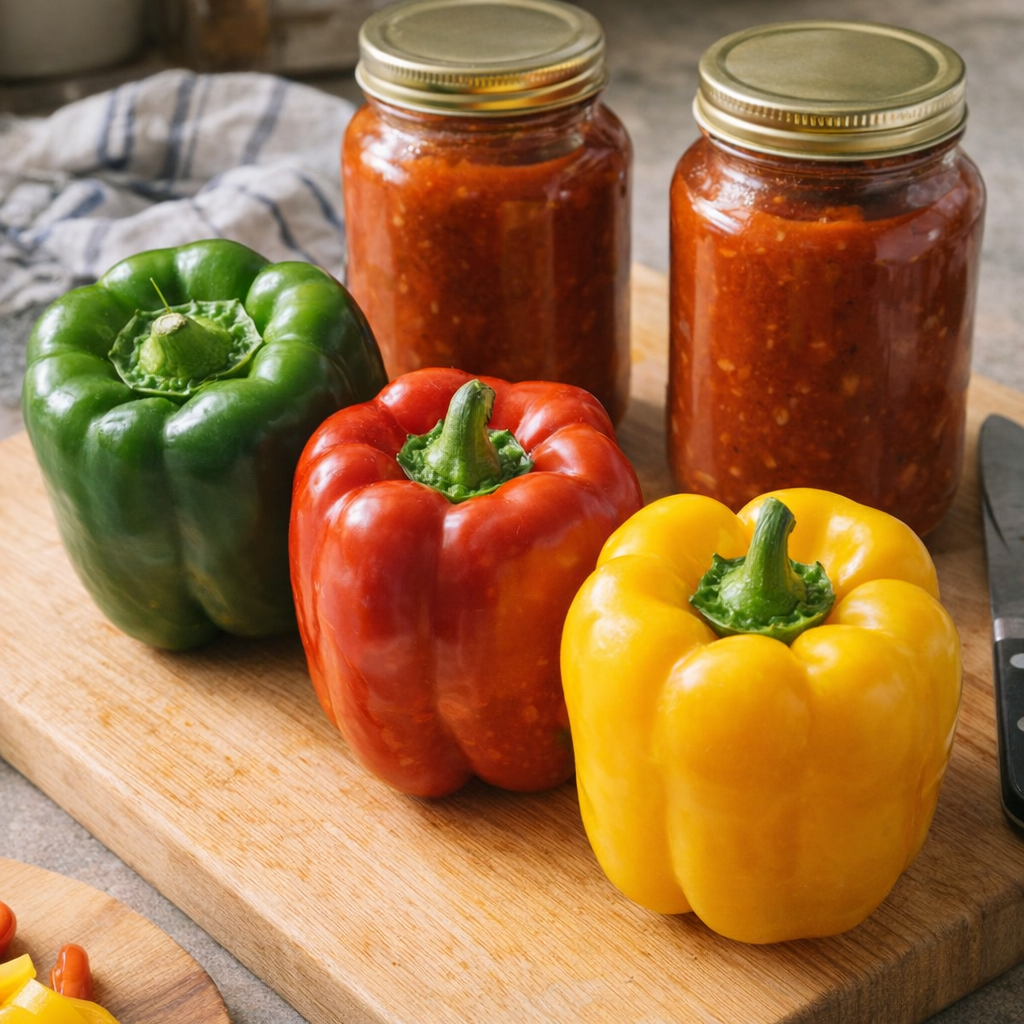
You can keep the spirit of this 4-ingredient bake and still make small changes. If green bell peppers are too strong for someone at your table, use a mix of green and red or yellow peppers for a milder, sweeter flavor. Any thick tomato-based pasta sauce works; choose a plain marinara, a garlic and herb version, or even a mushroom variety for more depth.

Colorful bell peppers and sauce options on a kitchen counter

For the cheese, mild cheddar, Colby Jack, or Monterey Jack all melt nicely; if you like a little more punch, use sharp cheddar, but it will taste a bit stronger and saltier. To stretch the dish for a crowd, serve it over cooked egg noodles or rice instead of increasing ingredients—this keeps the recipe true to its easy 4-ingredient nature.

If you’d like a little heat, use a spicy pasta sauce or sprinkle a pinch of red pepper flakes over the top before baking (this would be an optional extra, not one of the main four ingredients). For food safety, always cook the ground beef until it is no longer pink and reaches an internal temperature of 160°F (71°C); drain off excess grease so the casserole doesn’t become oily.

When baking, be careful removing the foil so you don’t get burned by steam, and let the dish rest briefly before serving so the hot cheese doesn’t cause burns. Leftovers should be cooled, covered, and refrigerated within 2 hours, then reheated until steaming hot before eating.

Mom cooked these crispy

by


These low carb 3-ingredient cottage cheese patties are the kind of thrifty, stick-to-your-ribs supper my mother leaned on when payday was still a few days off and the meat drawer was bare. Out here in the rural Midwest, you learn to make something hearty out of almost nothing, and cottage cheese was always cheaper than a roast. She’d stir together a bowl in minutes, fry off these little crispy circles, and suddenly we had a hot, savory meal that felt every bit as comforting as a plate of pork chops. This version keeps that same spirit—simple, filling, and golden-brown in the skillet—while staying low in carbs and easy enough for any busy evening.
Serve these patties hot from the skillet with a dollop of sour cream or plain Greek yogurt and a spoonful of chopped green onions or chives if you have them. A simple side salad with a tangy vinaigrette, sliced tomatoes, or a pile of steamed green beans balances their richness nicely. They’re also wonderful alongside sautéed cabbage or roasted broccoli for a completely low-carb plate. If you’re stretching supper, tuck them into lettuce leaves or serve over a bed of lightly buttered cauliflower rice to make things feel even more substantial.
Low Carb Cottage Cheese Patties
Servings: 3–4

Ingredients
2 cups full-fat cottage cheese
3 large eggs
1 cup finely grated hard cheese (such as Parmesan or a dry aged cheddar), lightly packed
Neutral oil or butter for frying, as needed
Directions
In a medium mixing bowl, stir together the cottage cheese and eggs until the eggs are fully broken up and the mixture looks mostly uniform. Some small curds are fine.
Add the finely grated hard cheese and mix well until everything is evenly combined. The mixture will be loose but should hold together when scooped. If it seems very runny, let it sit for 5–10 minutes so the cheese can absorb a bit of moisture.
Set a large skillet over medium heat and add enough oil or butter to lightly coat the bottom. Give it a few minutes to heat until a small drop of the mixture sizzles on contact.
Working in batches, scoop about 2 tablespoons of the mixture per patty into the hot skillet, leaving a little space between each. Use the back of the spoon to gently flatten them into small, round, fairly thin circles so they’ll crisp up at the edges.
Cook the patties without moving them for 3–4 minutes, or until the bottoms are deep golden brown with some darker, crispy spots around the edges.
Carefully flip each patty with a thin spatula and cook the second side another 3–4 minutes, until golden brown and set in the center. Adjust the heat as needed so they brown steadily without burning.
Transfer the cooked patties to a plate lined with a paper towel while you finish the remaining batter, adding a little more oil or butter to the skillet between batches if the pan looks dry.

Serve the patties hot, while the outsides are still crisp and the insides are tender and cheesy.
Variations & Tips
For a little extra savor without adding carbs, you can season the mixture with a pinch of salt, black pepper, garlic powder, onion powder, or dried herbs such as parsley or dill. If you’re not strictly counting ingredients, folding in a spoonful of finely minced onion or green onion gives them an old-fashioned farmhouse flavor. To keep them very low carb and help them hold together even more firmly, stir in 1–2 tablespoons of finely ground almond flour or crushed pork rinds; this mimics the role of breadcrumbs without the starch. These patties reheat nicely in a dry skillet over medium heat or in an air fryer until the edges crisp back up. You can also make them smaller for a snack or appetizer, or a bit larger to stand in for a burger patty—just adjust the cooking time so the centers set without over-browning the outside.

My uncle made this every week during hard times

by


This is one of those humble, hard-times dinners that still feels a little special when it hits the table. My uncle made these simple hamburger steaks with onions every week when money was tight, because they only use three basic ingredients, fill everyone up, and taste like something you’d get at a cozy diner. The beef patties get browned and nestled under a blanket of soft, caramelized onions, all swimming in their own rich pan juices. It’s low carb, budget-friendly, and comforting enough to keep in your regular rotation.
These hamburger steaks are wonderful served right in the foil-lined pan with all the juices spooned over the top. To keep it low carb, pair them with steamed or roasted vegetables like green beans, broccoli, or a simple side salad. If you’re feeding kids or non–low carb eaters, you can add mashed potatoes, buttered egg noodles, or a slice of crusty bread to soak up the savory juices. A little mustard or a splash of hot sauce on the side can also make the grown-ups happy.
3-Ingredient Hamburger Steaks with Onions
Servings: 4

Ingredients
2 pounds ground beef (80/20 works best)
2 large yellow onions, thinly sliced
2 teaspoons kosher salt (plus more to taste)
Directions
Line a 9x13-inch baking dish or a rimmed sheet pan with aluminum foil, making sure the foil comes up the sides to catch all the juices. Lightly grease the foil with a bit of oil or cooking spray if you have it (optional, but helps with sticking).
Preheat your oven to 375°F (190°C). While it heats, thinly slice the onions into half-moons. Spread about half of the sliced onions evenly over the bottom of the foil-lined pan.
Place the ground beef in a large bowl and sprinkle it with the kosher salt. Use your hands to gently mix just until the salt is evenly distributed, being careful not to overwork the meat so the patties stay tender.
Divide the seasoned beef into 4 to 6 equal portions, depending on how big you like your hamburger steaks. Shape each portion into a thick oval or round patty, about 3/4 to 1 inch thick, and press a shallow dent into the center of each patty with your thumb to help them cook evenly.
Lay the patties on top of the bed of onions in the pan, leaving a little space between each one so they can brown. Scatter the remaining sliced onions over and around the patties, letting some pile right on top of the meat.
Place the pan in the preheated oven and bake for 20 minutes. Carefully remove the pan and use a spoon to baste the patties with the juices that are starting to collect in the bottom. This helps keep them moist and starts building that rich, glossy look.
Return the pan to the oven and continue baking for another 15 to 20 minutes, or until the hamburger steaks are nicely browned on top, the onions are soft and starting to caramelize around the edges, and the internal temperature of the patties reaches at least 160°F (71°C). The pan should be full of dark, savory juices.

Once done, let the hamburger steaks rest in the pan for about 5 minutes. This gives the juices a chance to settle and makes everything taste richer. To serve, spoon plenty of the soft onions and pan juices over each patty and bring the foil-lined pan right to the table for a cozy, family-style meal.
Variations & Tips
If your family prefers milder onion flavor, use just one onion and slice it a little thicker so it softens without melting completely. For extra seasoning without adding more ingredients, you can shape the patties with a light hand and give them a quick sprinkle of black pepper from your pantry before baking. If you’re not strict about carbs, you can mix in 1/4 cup of plain dry breadcrumbs or crushed saltine crackers to stretch the meat further during especially lean weeks. For kids who don’t love visible onions, tuck most of the onions under the patties and just a few on top, then serve their portions with more meat and fewer onions. You can also portion the meat into smaller slider-sized patties for little hands. If you prefer stovetop cooking, brown the patties in a skillet first, then pile the onions on top, cover, and let them simmer on low until the onions are soft and the beef is cooked through, still keeping the ingredients to just beef, onion, and salt. For a slightly fancier feel without breaking the budget, shape the patties into neat ovals and serve them in the foil-lined pan with a sprinkle of chopped fresh parsley from the garden if you have it on hand.

Pour cream of mushroom soup

by


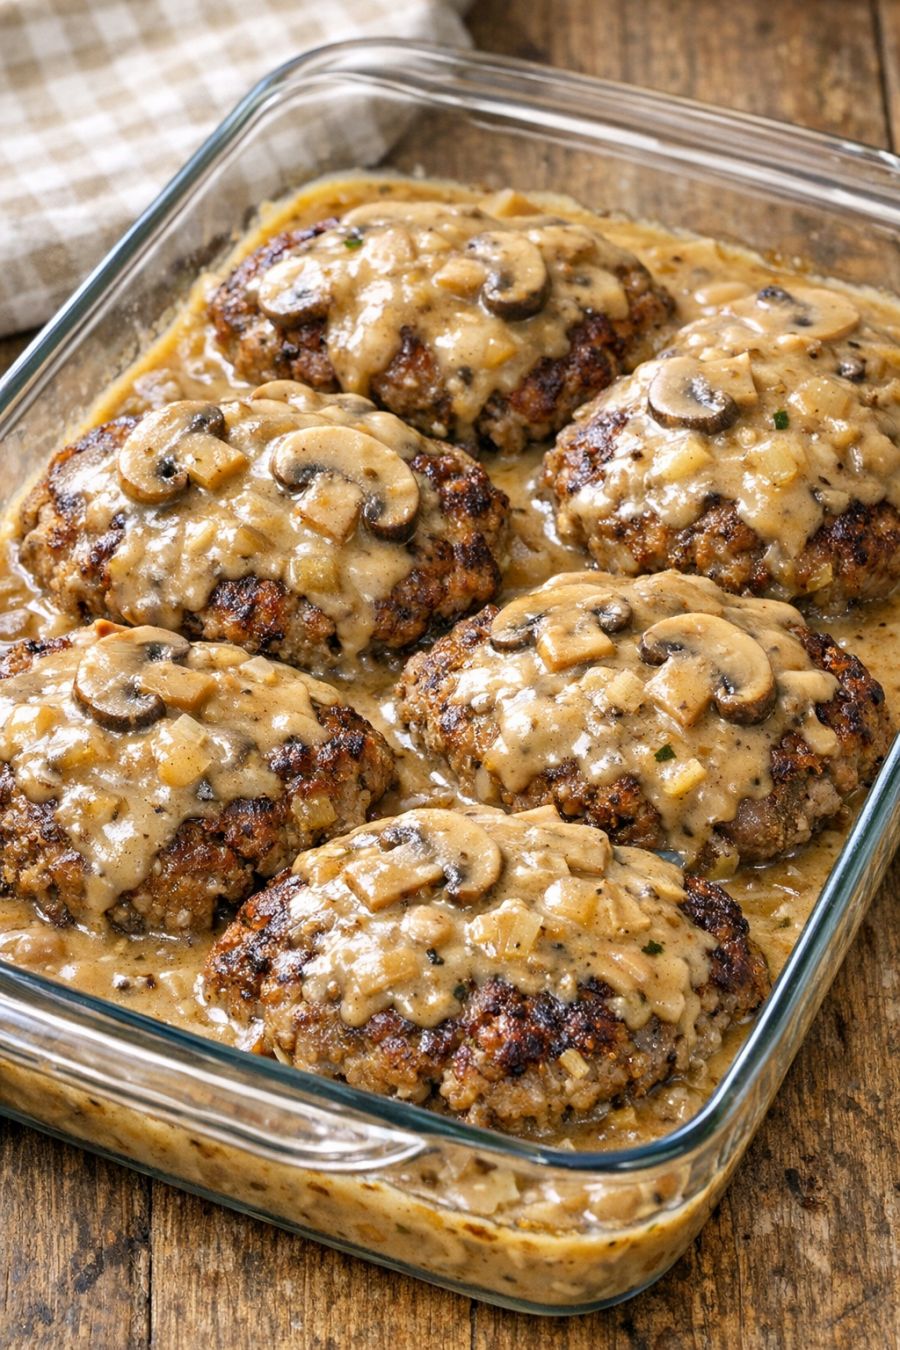
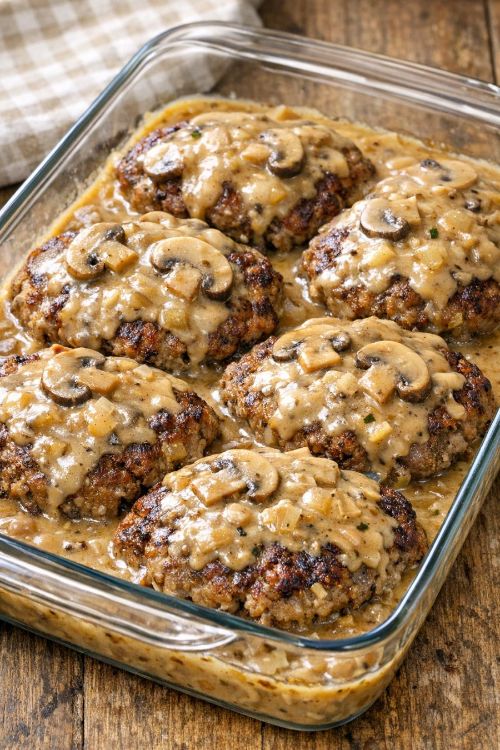
This oven baked 4-ingredient Amish-style poor man’s steak is the kind of cozy, stick-to-your-ribs supper that feels right at home in a small Midwestern kitchen. It starts with simple raw ground beef patties, laid into a glass baking dish and smothered with creamy mushroom soup and just two more pantry ingredients. Everything bakes together into tender, gravy-covered patties that taste like they took all afternoon, even though they come together in minutes. It’s budget-friendly, kid-approved, and the one my family always asks for when we need an easy, comforting meal on a busy weeknight.
Serve these creamy baked patties with fluffy mashed potatoes or buttered egg noodles to soak up all that mushroom gravy. A side of green beans, steamed peas, or a simple tossed salad helps balance out the richness. Warm dinner rolls or slices of crusty bread are perfect for mopping up the last bit of sauce in the glass dish. For a fuller plate, add applesauce or coleslaw on the side—just like a small-town church supper.
Oven Baked 4-Ingredient Amish Poor Man's Steak
Servings: 4
Ingredients
1 1/2 pounds ground beef (80–85% lean)
1 (10.5-ounce) can cream of mushroom soup
1/2 cup whole milk (or 2% milk)
1 packet (about 1 ounce) dry onion soup mix
Directions
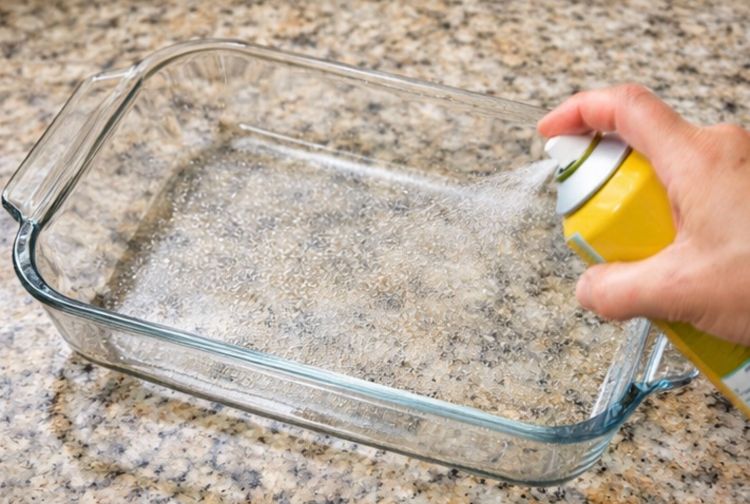
Preheat your oven to 350°F (175°C). Lightly grease a 9x13-inch glass baking dish or spray it with nonstick cooking spray to help with cleanup.
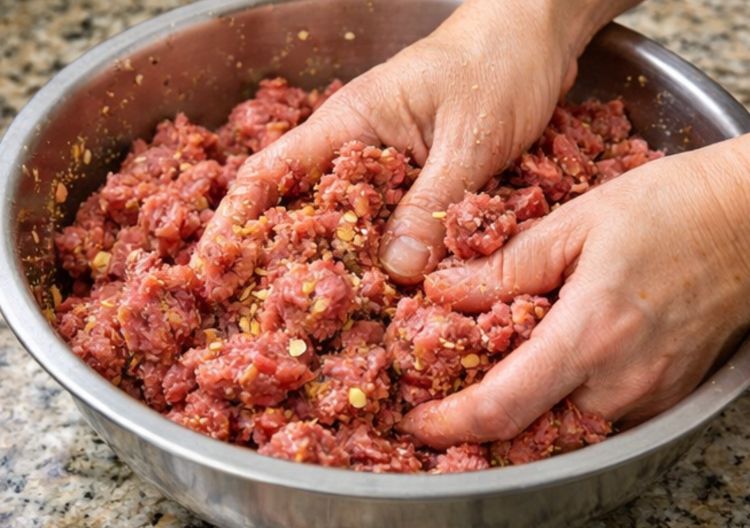
In a medium bowl, combine the ground beef and dry onion soup mix. Use clean hands to gently mix until the seasoning is evenly distributed, but do not overwork the meat so the patties stay tender.
Divide the seasoned beef mixture into 6 to 8 equal portions, depending on how big you like your patties. Shape each portion into a flat oval or round patty about 1/2 to 3/4 inch thick.
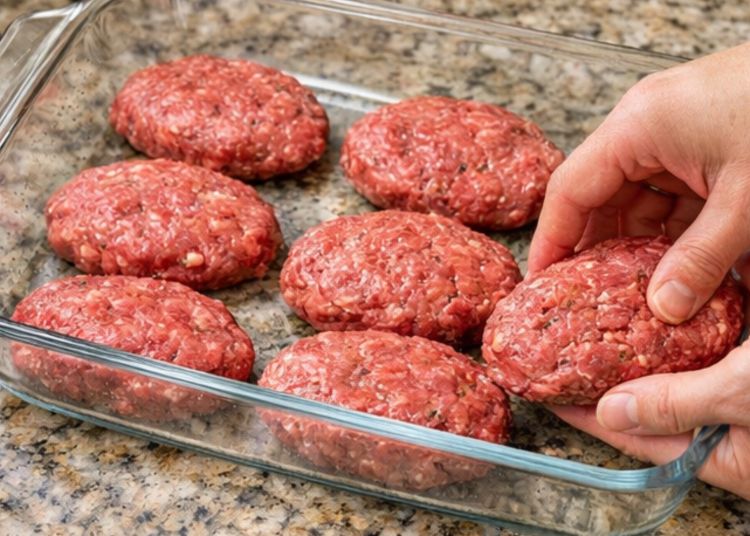
Arrange the raw ground beef patties in a single layer in the prepared glass baking dish, leaving just a little space between each one so the sauce can flow around them.
In a separate bowl, whisk together the cream of mushroom soup and the milk until smooth and pourable. It should be the consistency of a loose gravy.
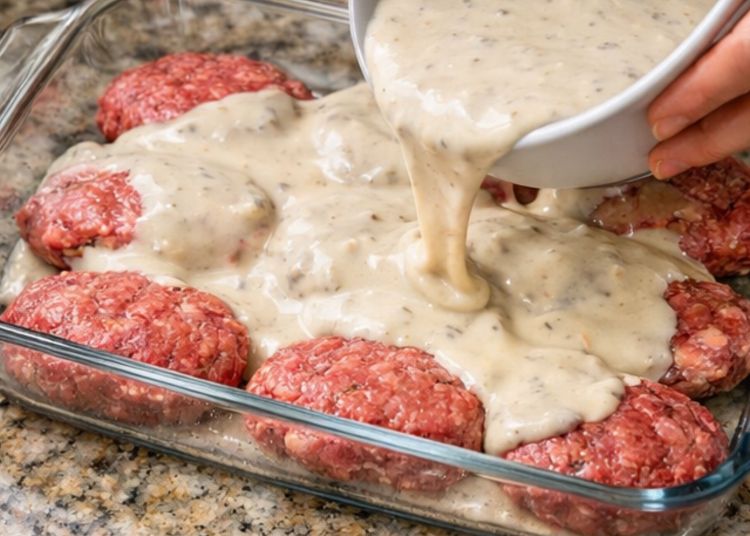
Holding the bowl over the glass baking dish, pour the cream of mushroom soup mixture evenly over the raw ground beef patties, making sure each patty is well coated and some sauce covers the bottom of the dish.
Cover the glass baking dish tightly with aluminum foil to keep the steam and moisture in while baking, which helps the patties cook through gently and stay tender.
Bake in the preheated oven for 35 to 40 minutes, or until the patties are cooked through and no longer pink in the center (an instant-read thermometer should read 160°F/71°C in the thickest part).
Carefully remove the foil, then return the dish to the oven and bake uncovered for an additional 5 to 10 minutes to let the top of the sauce thicken slightly and pick up a little color around the edges.
Let the dish rest for about 5 minutes before serving so the sauce can settle and thicken a bit more. Spoon the creamy mushroom gravy over each patty when plating, and serve hot.

Variations & Tips
For picky eaters, you can swap the cream of mushroom soup for cream of chicken or cream of celery if they shy away from mushroom pieces; just keep the same amount of milk and onion soup mix so the texture and flavor stay similar. If you’d like to stretch the meat a bit further, mix in 1/2 cup plain dry bread crumbs and 1 beaten egg with the ground beef and onion soup mix—this gives a more meatloaf-style patty and can yield an extra serving or two. For a milder onion flavor, use only half the packet of onion soup mix and add a pinch of salt and pepper instead. To sneak in some veggies, scatter thinly sliced mushrooms or onions in the bottom of the glass baking dish before adding the patties, or tuck a few frozen green beans or peas around the edges; they’ll cook right in the sauce. If you prefer a richer gravy, replace half of the milk with beef broth or add a tablespoon of Worcestershire sauce to the soup mixture before pouring it over the raw patties. Leftovers reheat well in the microwave or oven with a splash of milk to loosen the sauce, making them great for next-day lunches or quick sandwiches on toasted bread.

My grandfather survived the

by


My grandfather survived some of the hardest years this country ever saw with a pot of potatoes and onions quietly bubbling away on the back of the stove. When money was tight and meat was a rare treat, this simple 3-ingredient meal kept everyone full and comforted. I’ve adapted his old farmhouse method to the slow cooker, so you can toss it together in the morning and let it work its magic all day. As it cooks, the potatoes turn tender and golden around the edges, the onions melt down into sweet, savory ribbons, and everything is kissed with just enough butter to feel special. It’s humble food that fills the house with the kind of aroma that makes you feel safe, cared for, and grateful for every bite.

I like to serve this slow cooker potato and onion bake straight from the crock, spooned into shallow bowls so the buttery gloss coats every slice. It’s hearty enough to stand alone with a slice of crusty bread or a pan of cornbread for soaking up the buttery juices. On lean days, we eat it just as it is; on more generous nights, it makes a wonderful bed for a fried egg, a few slices of leftover sausage, or a scoop of cottage cheese. A simple side of green beans, coleslaw, or a crisp salad adds a bit of freshness alongside this rich, old-fashioned comfort.
Slow Cooker Potato and Onion Bake
Servings: 4
Ingredients
3 tablespoons salted butter, melted (plus a little extra for greasing the slow cooker)
2 pounds russet or Yukon Gold potatoes, thinly sliced (about 1/8-inch thick)
2 large yellow onions, thinly sliced (about 1/8–1/4-inch thick)
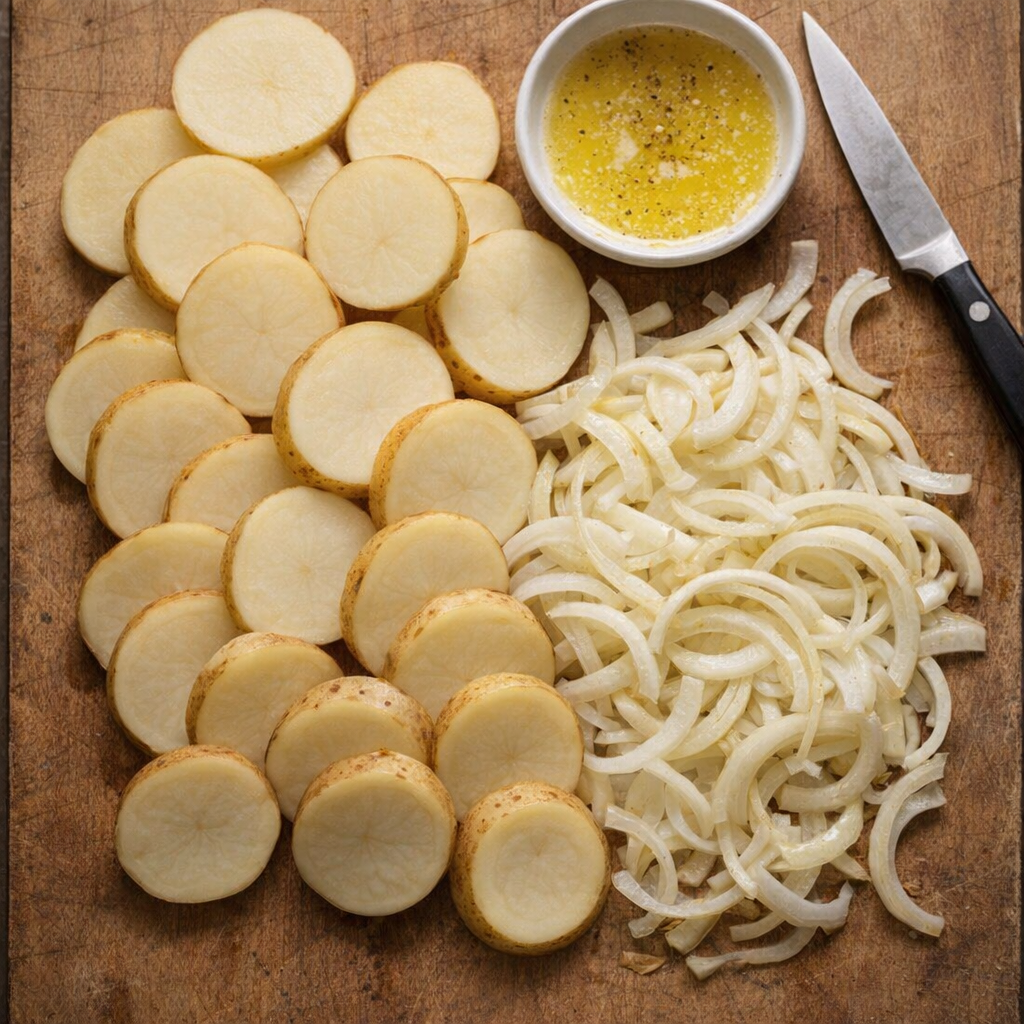
Sliced potatoes and onions ready for layering
Directions
Lightly grease the inside of a 4- to 6-quart slow cooker with a bit of butter to keep the potatoes from sticking and to add extra flavor.
Peel the potatoes if you like (or scrub them well and leave the skins on for a more rustic bake). Slice the potatoes into thin rounds, about 1/8-inch thick, so they cook evenly and become tender all the way through.
Peel the onions, then slice them in half from root to tip. Lay each half flat and cut into thin slices, about 1/8–1/4-inch thick, so they soften and caramelize as they cook.
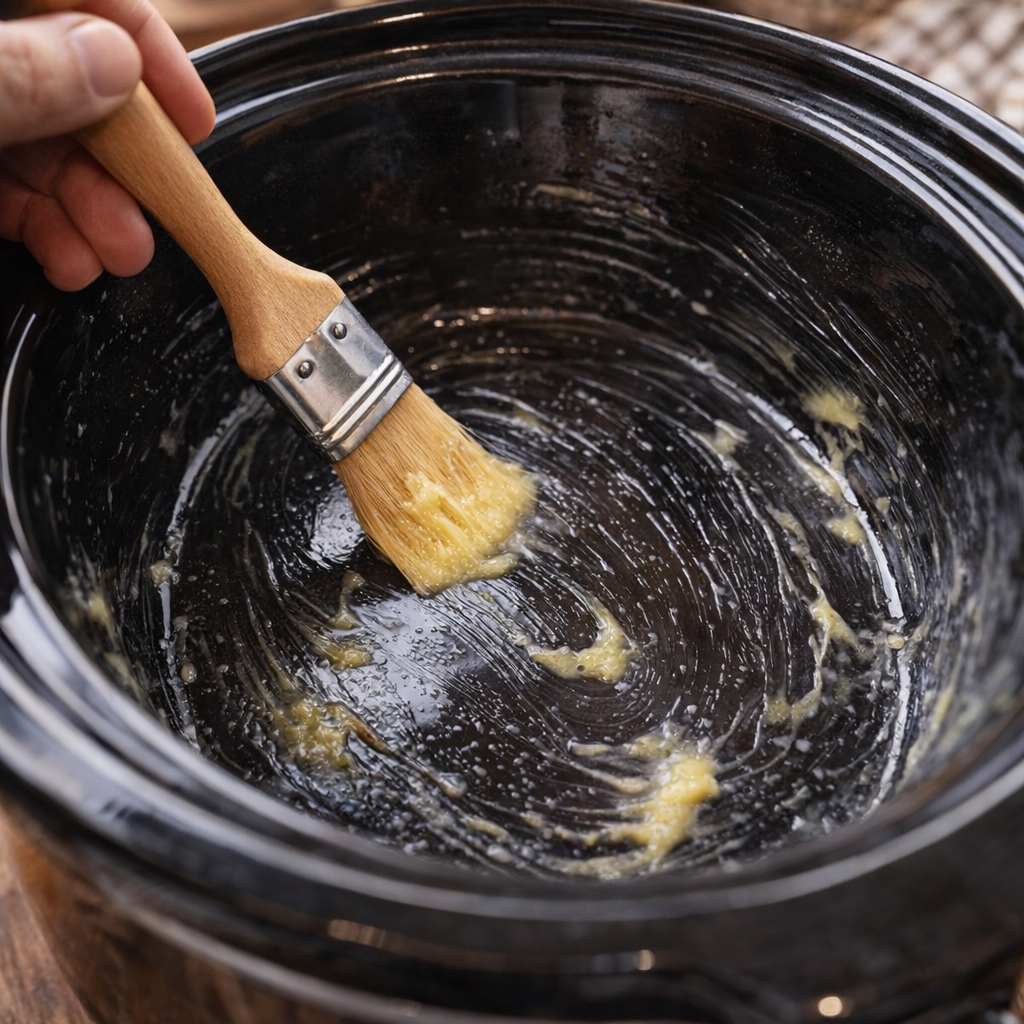
Buttering the inside of a slow cooker crock
Drizzle 1 to 2 teaspoons of the melted butter into the bottom of the slow cooker and tilt the crock so it coats the surface.
Add a single, even layer of potato slices to the bottom of the slow cooker, overlapping them slightly like shingles. Sprinkle a loose handful of sliced onions over the potatoes, spreading them out so they cover the surface.
Drizzle a teaspoon or so of melted butter over this layer, letting it sink down between the slices. If you normally cook with salt and pepper, you may add a light pinch now, but the recipe is designed to be satisfying even without extra seasonings.
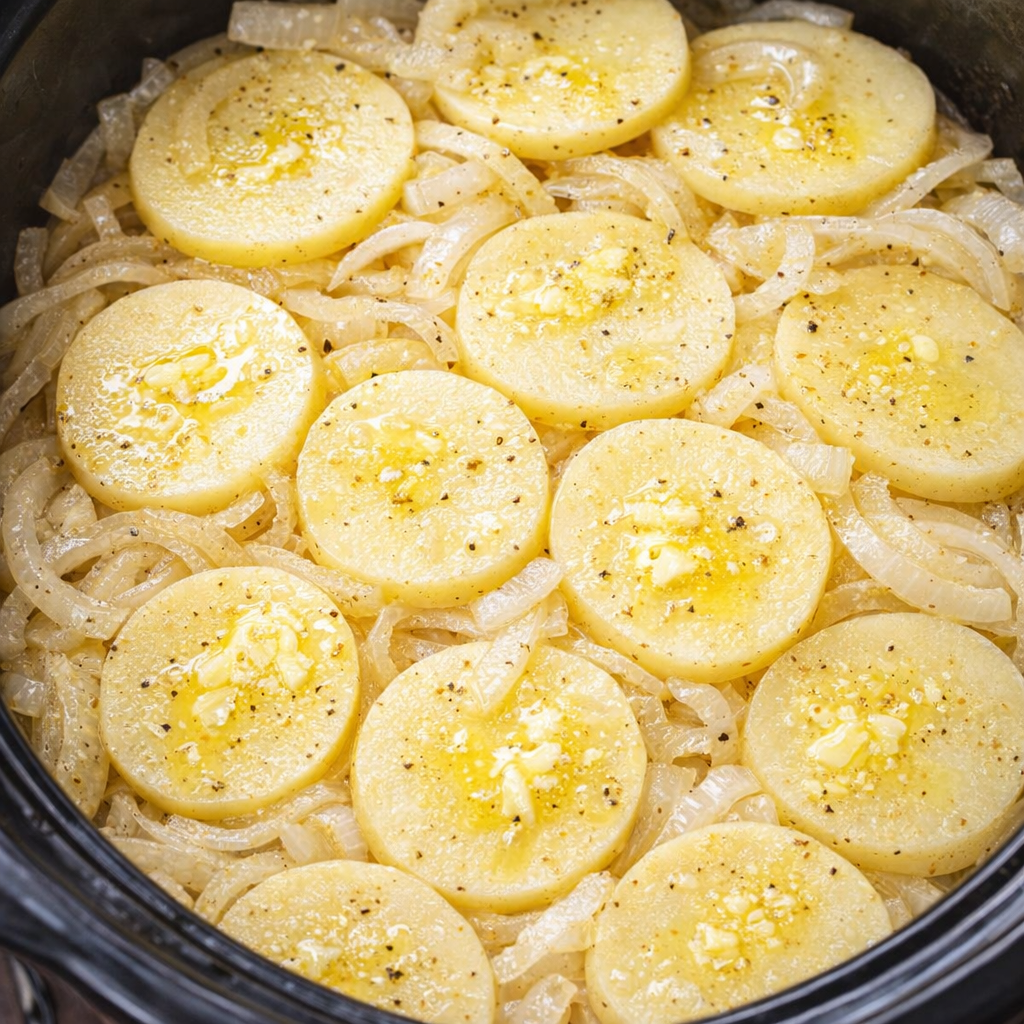
Repeat the layering process: potatoes, onions, and a light drizzle of melted butter, building up until all the potatoes and onions are used. Finish with a final drizzle of any remaining melted butter over the top so the upper layer turns glossy and golden as it cooks.
Layered potatoes and onions in the slow cooker
Cover the slow cooker with its lid and cook on LOW for 6 to 7 hours, or on HIGH for about 3 to 4 hours, until the potatoes are very tender when pierced with a fork and the onions are soft, translucent, and lightly caramelized around the edges.
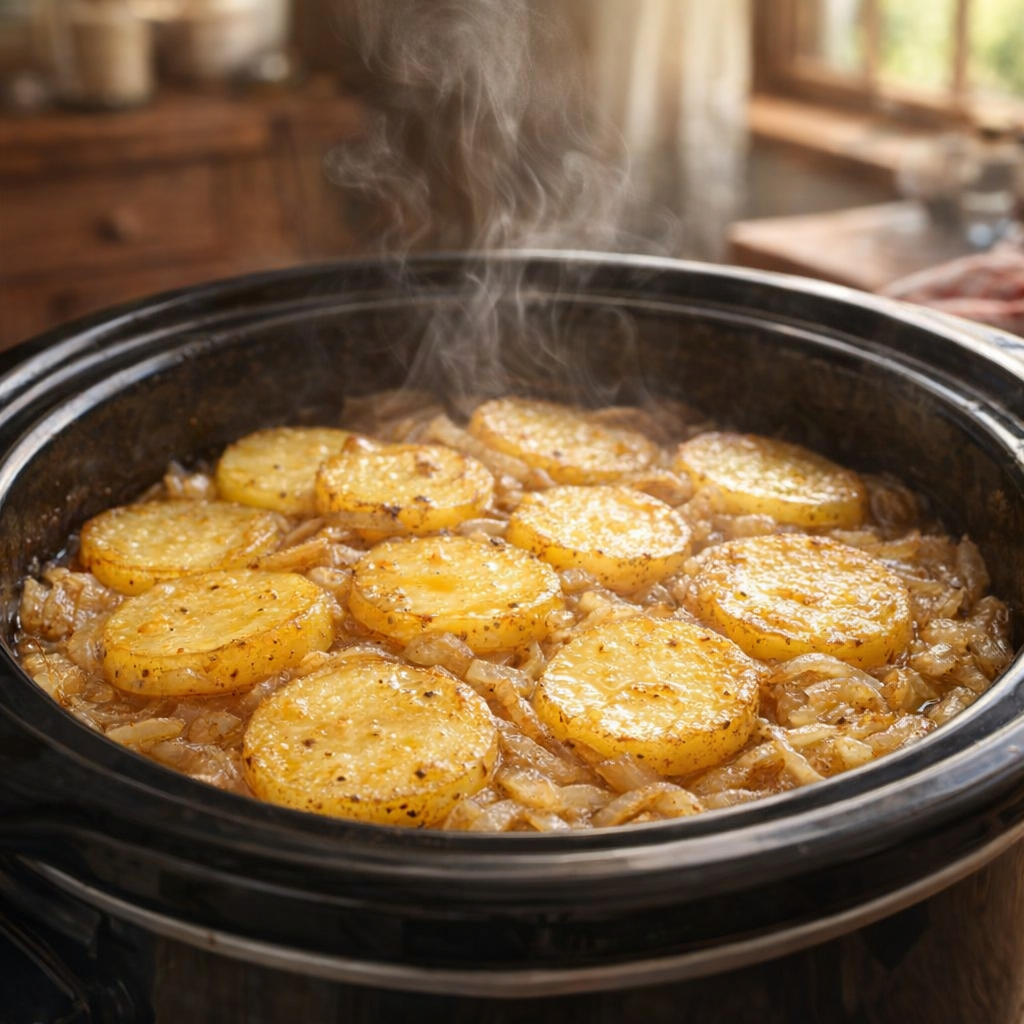
Once cooked, let the potato and onion bake rest with the lid off for about 10 minutes. This allows the steam to settle and the buttery juices to thicken slightly, giving the potatoes a rich, glossy finish.
Finished potato and onion bake resting in the crock
To serve, scoop down through all the layers so each portion has both potatoes and onions. Spoon any buttery juices from the bottom of the crock over the top of each serving for extra flavor and moisture.
Variations & Tips
This old-fashioned 3-ingredient bake is meant to be as plain and honest as the times it came from, but you can still make it your own while keeping the spirit of the dish. If you’d like a slightly different character without adding more true ingredients, play with the potato variety: Yukon Golds give a buttery, creamy texture, while russets turn softer and more rustic, almost like a loose casserole. Red potatoes will hold their shape more and give a firmer bite.

For deeper onion flavor, use one yellow onion and one sweet onion, or cook it a little longer on LOW so the onions caramelize further along the sides. If you have a very old slow cooker that runs hot, check the potatoes early so the bottom doesn’t overbrown; you can gently lift and stir the edges toward the center once during cooking if needed.

To stretch this meal for more people without adding ingredients, serve it over thick slices of toasted bread or alongside a big bowl of beans. Leftovers reheat well in a skillet with just a dab of butter: press them down a bit and let the bottom crisp for a few minutes to create buttery, golden potato cakes from yesterday’s supper.

by


This slow cooker Amish-style Yumasetti is the kind of simple, stick-to-your-ribs casserole that has shown up at church basements and small-town potlucks across the Midwest for generations. It starts just the way I watched my mother do it on busy farm days: raw ground beef in the crock, a can of cream of mushroom soup poured right over the top, then just four more pantry staples to round it out. Everything cooks together low and slow into a creamy, hearty tangle of noodles and beef that feels like a warm hug after a long day. It’s the easy, no-fuss casserole that somehow always ends up being the one everyone asks for.
Serve this slow cooker Yumasetti straight from the crock on sturdy dinner plates or in wide bowls, with a simple green salad or a side of buttered peas or green beans to cut through the richness. Warm dinner rolls or slices of soft white bread are perfect for soaking up the creamy sauce at the bottom of the plate. A little black pepper at the table and maybe a sprinkle of parsley, if you have it, are all it needs. It travels well, so it’s a good choice for potlucks or taking to a neighbor who needs a comforting meal.
Slow Cooker Amish Yumasetti Casserole
Servings: 6

Ingredients
1 1/2 pounds raw ground beef (80–85% lean)
1 can (10.5 ounces) condensed cream of mushroom soup
2 cups beef broth (or water plus bouillon)
8 ounces uncooked wide egg noodles
1 cup sour cream
1 cup shredded cheddar cheese
Directions
Spray the inside of a 5- to 6-quart slow cooker lightly with cooking spray or rub with a bit of oil to help with cleanup.
Crumble the raw ground beef evenly into the bottom of the slow cooker, breaking it up with your fingers or a spoon so it’s in small chunks and covers the bottom in a fairly even layer.
In a medium bowl, whisk together the condensed cream of mushroom soup and the beef broth until fairly smooth. It doesn’t need to be perfect, just well combined so the soup loosens into a pourable sauce.
Pour the cream of mushroom soup mixture evenly over the raw ground beef in the slow cooker, making sure the beef is mostly covered. Do not stir; letting it sit in layers helps the beef cook gently and keeps the noodles from sinking too soon.
Cover the slow cooker with the lid and cook the beef and soup mixture on HIGH for 2 to 2 1/2 hours, or on LOW for about 4 hours, until the ground beef is cooked through and the mixture is hot and bubbly around the edges.
Once the beef is cooked, give the mixture a good stir, breaking up any larger pieces of meat and mixing the sauce and beef together. Taste a small bit and add salt and pepper if needed, keeping in mind the soup and cheese will both add salt.
Stir in the uncooked egg noodles, pressing them down gently so they are mostly submerged in the creamy beef mixture. Try to keep the noodles in an even layer so they cook at the same rate.
Re-cover the slow cooker and cook on HIGH for 20 to 30 minutes, or until the noodles are just tender but not mushy. Lift the lid once or twice to gently stir and press any dry noodles down into the liquid so they soften evenly.
When the noodles are tender, turn the slow cooker to LOW or the KEEP WARM setting. Gently stir in the sour cream until the sauce is smooth and creamy, then sprinkle the shredded cheddar cheese evenly over the top.
Cover and let the cheese melt for about 5 to 10 minutes. Once the cheese is melted and the casserole is creamy and thick, give it a gentle stir if you like a more blended casserole, or leave the cheesy layer on top for a more traditional look.
Serve the Yumasetti hot, straight from the slow cooker, making sure each serving has a good mix of beef, noodles, and sauce. Leftovers keep well in the refrigerator for up to 3 days and can be reheated gently with a splash of broth or milk if they seem too thick.

Variations & Tips
For a more traditional Amish-style touch, you can swap half of the sour cream for cottage cheese, stirring it in at the same time as the sour cream for extra body and a bit of tang. If your family likes a little onion flavor, add 1 teaspoon of onion powder or 1/2 cup of very finely minced onion on top of the raw beef before you pour on the soup mixture. To sneak in some vegetables, scatter 1 to 1 1/2 cups of frozen peas and carrots or mixed vegetables over the cooked beef mixture just before you stir in the noodles; they’ll heat through as the noodles cook. For a milder, creamier casserole, use a mild Colby or Monterey Jack cheese instead of cheddar. If you prefer to trim the fat a bit, you can use leaner ground beef and low-fat sour cream, though the texture will be slightly less rich. To prevent overcooked noodles on busy days, you can par-cook the noodles on the stovetop until just shy of al dente, then stir them in during the last 10 to 15 minutes of slow cooking, adding a splash more broth if the casserole seems too thick. This recipe also adapts well to different slow cooker sizes—if your cooker runs hot or is larger than 6 quarts, keep an eye on the noodles and check them early so they don’t overcoo

Top Ad 728x90